Installation
Soildrops Soil Moisture Sensor Installation Tutorial
Estimated installation Time: 3 mins each sensor
The sensor can transmit up to 100 feet without major obstacles, and 60–80 feet when transmitting through a house. A booster can extend the range to over 300 feet. For best performance, place the booster within 50 feet of the sensor. Booster (a range extender placed between the controller and distant sensors)s can be purchased at Soildrops.com.
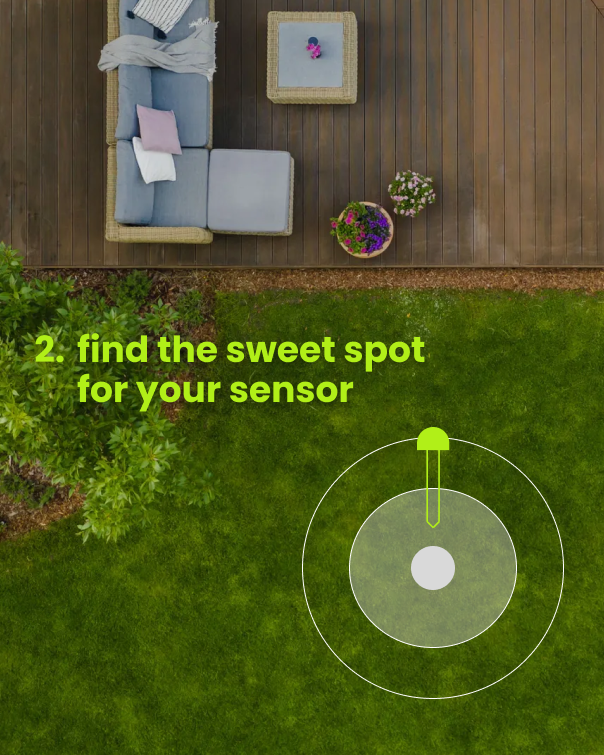
Step 1: Place Your Sensor
Sprinkler Zones: Place in the center of the zone.
Dripline Zones: Place under a drip hole at the midpoint for accurate readings.
Pro Tips:
-
Place near the controller for the strongest signal.
-
Avoid having concrete or metal doors between the controller and sensor.
-
Do not place the sensor next to footings, concrete, rocks, or bricks.
-
Position the sensor at the highest point in the area whenever possible.

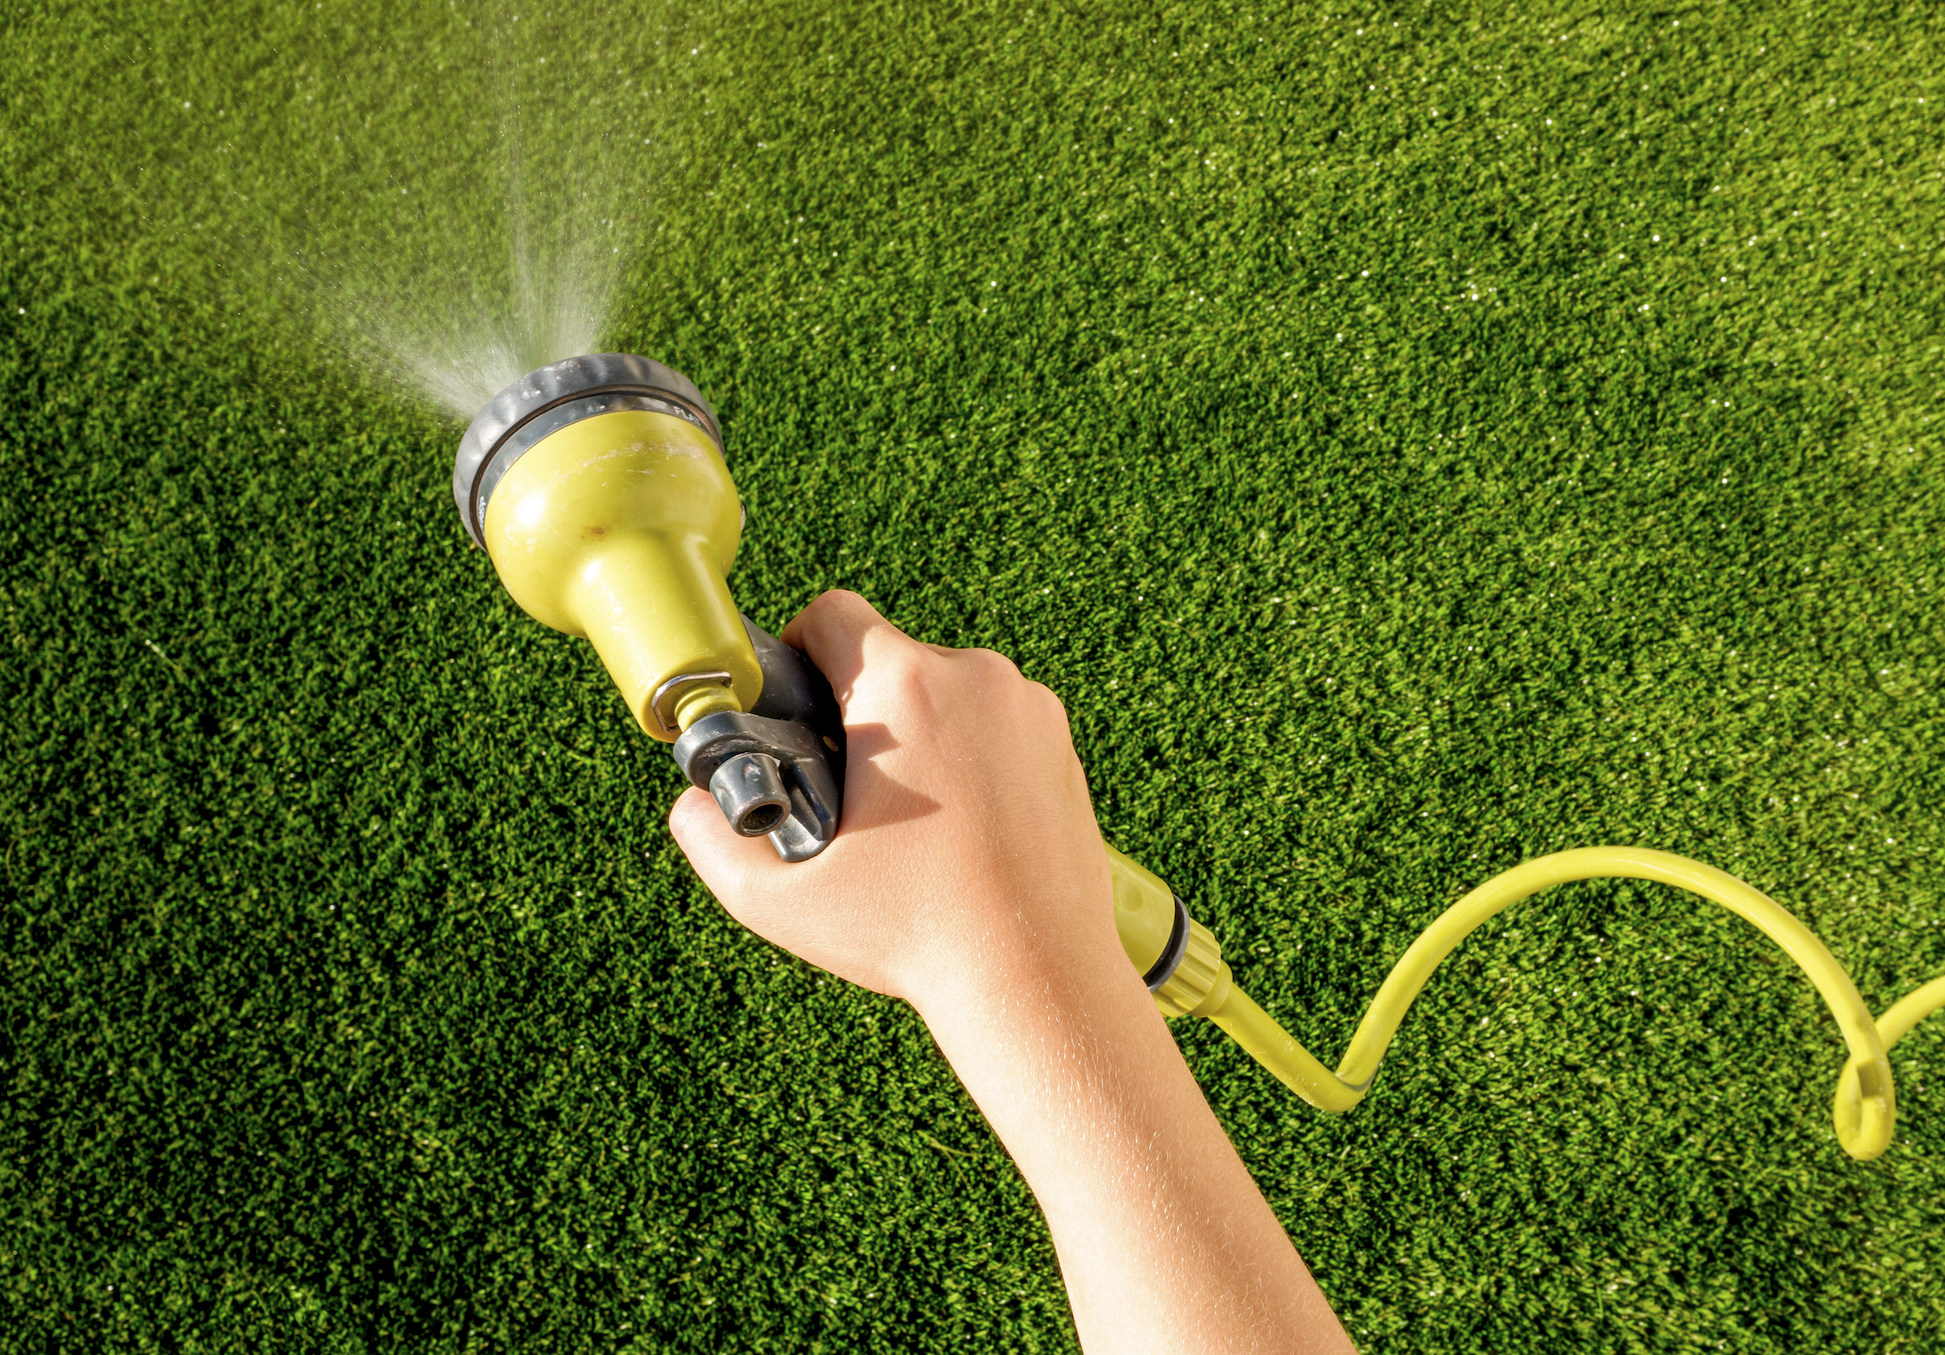
Step 2: Moisten Soil
- Avoid damage by inserting into moist soil.
- Water the area manually or, use QuickRun (3-5 min) in the app.

Step 3: Pair Your Sensor
- Near controller, hold button (5s) until LED blinks.
- In the app, tap 'Add Sensor' and scan the QR code.
- Wait for pairing confirmation.

Step 4: Sensor Insertion
- Gently push sensor into soil. Stop and move if you feel resistance.
- Push sensor down until top is flush with soil.

Step 5: Wait for Data
- Initial 0% moisture is normal – don't worry! You’ll recieve an accurate reading within 10 minutes.Congratulations, your sensor is now monitoring soil moisture.
- If no data appears after 10 minutes, try moving the sensor to a different spot for a better signal.
Pairing a Soil Moisture Sensor
Soil moisture sensors give your Soildrops system real-time data about how wet the soil actually is — not an estimate, but a measurement. This unlocks Autopilot mode, where the AI makes watering decisions based on what's happening underground.
Do You Need a Sensor?
Not necessarily. Soildrops works without sensors in Smart or Manual mode. But adding a sensor gives you:
- Autopilot mode: Fully AI-driven watering based on actual soil conditions.
- More accurate watering: The system knows exactly when your soil needs water.
- Maximum water savings: No overwatering, no guessing, no wasting water after rain.
Pairing During Initial Setup
If you selected "Controller + Sensors" during setup, the app walks you through pairing a sensor to each zone. Follow the on-screen instructions.
Adding a Sensor Later
- Go to System Overview in the app.
- Find the zone card where you want to add a sensor.
- Tap "Add Sensor To This Zone."
- Scan the QR code on the sensor using your phone's camera.
- The sensor pairs automatically — you'll see a confirmation when it's connected.
What You'll See on Your Zone Card
- Battery %: Typically lasts about 2 years.
- Signal strength: Green (strong), yellow (fair), or red (weak).
- Current moisture reading: Real-time data from the soil.
Replacing a sensor: If a sensor dies or malfunctions, tap "Replace" on the zone detail screen and scan the new sensor's QR code. The new one takes over immediately.
How long does installation take?
Controller: About 10–15 minutes for most setups — mount it, connect your irrigation wires, scan the QR code, and connect to Wi-Fi. The app walks you through every step.
Sensor: About 3 minutes per sensor — insert in the ground at root level and pair via QR code. Quick and simple.
Where should I place the sensor?
Place the sensor in a representative spot within the zone — somewhere that reflects the typical soil and moisture conditions for that area. Avoid edges, dry spots near pavement, or soggy spots near downspouts. The goal is to get a reading that accurately represents the whole zone.
Push the sensor into the soil at root level for your primary plants (usually 3–4 inches for lawns, deeper for shrubs and trees). Make sure the sensor tip is in full contact with the soil, not sitting in an air pocket.
Tip: If you're not sure where to put it, place it about 1/3 of the way from the nearest sprinkler head. This tends to represent average moisture conditions for the zone.
Usage & Care
Sensor Health and Management
Keep an eye on your sensors to make sure they're reporting accurately and staying connected.
Checking Sensor Status
Each zone card in the app shows the sensor's battery level and signal strength. Green is good, yellow means it's getting weak, red means action is needed.
Signal Strength Tips
- The sensor communicates with the controller up to 100 feet without obstacles, and about 60–80 feet through walls or dense vegetation.
- If signal is weak, try repositioning the sensor closer to the controller, or move the controller's antenna to face the sensor.
Battery Life
Sensor batteries typically last about 2 years. When the battery indicator shows low, plan to replace it within the next couple of weeks. Sensors use a standard coin cell battery that's easy to swap.
Maintenance habit: Check sensor status in the app at the start of each watering season. A quick glance at battery and signal levels prevents surprises mid-summer.
Delete Sensor & Replace Sensor
If a sensor needs replacing — dead battery, damage, or you're reorganizing zones — here's how to handle it.
Replacing a Sensor
- Open the zone detail view for the zone with the sensor you're replacing.
- Tap "Replace Sensor."
- Scan the QR code on the new sensor.
- The new sensor takes over immediately — no reconfiguration needed.
Deleting a Sensor
- Open the zone detail view.
- Tap the sensor settings.
- Tap "Delete Sensor."
Removing a sensor means that zone can no longer use Autopilot mode — it will switch to Smart or Manual mode.
Keep your QR codes: Each sensor has a unique 8-digit ID on its QR label. Store these somewhere safe — you'll need the code if you ever re-pair or replace the sensor.
Troubleshooting
Troubleshooting Sensor Issues
If your sensor isn't reporting data, shows inaccurate readings, or appears offline in the app, work through these checks.
Sensor Not Reporting / Offline
- Check the battery. A dead or low battery is the most common cause. Replace it and see if readings resume.
- Check signal strength. If the sensor is too far from the controller (or there's heavy obstruction), the signal may not reach. Try moving the sensor closer or repositioning the controller's antenna.
- Reseat the sensor. Pull it out of the ground, wipe the probes clean, and push it back in. Make sure the tip is in firm contact with soil, not an air gap.
- Power cycle the controller. Unplug the controller for 30 seconds, then plug it back in. This can clear communication glitches.
Readings Seem Wrong
- Sensor placement: If the sensor is near a downspout, pavement edge, or in a particularly wet/dry micro-zone, its readings won't represent the zone accurately. Relocate to a more representative spot.
- Soil contact: Air pockets around the sensor tip cause artificially low readings. Push the sensor in firmly so the probes are surrounded by soil.
- Recently watered: Right after watering, readings will be high. Give it 30–60 minutes for water to distribute through the soil before judging accuracy.
Last resort: If the sensor still isn't working after these steps, it may need replacing. Tap "Replace" in the zone detail view and pair a new sensor.
FAQ
How accurate is Soildrops sensor?
Soildrops soil moisture sensors measure volumetric water content in the soil and are accurate to within ±3% under normal conditions. This is more than precise enough for effective automated watering — the AI doesn't need laboratory-grade precision to make smart decisions about when to water.
How do I know if my sensor is working properly?
Check the sensor's zone card in the app. A working sensor shows a current moisture percentage, green signal indicator, and healthy battery level. If the moisture reading changes after watering and dries down gradually between cycles, the sensor is doing its job.
Are the sensor and controller safe?
Yes. The controller uses a standard 24V AC transformer (the same as virtually all residential irrigation controllers), and the sensors operate on low-power coin cell batteries. Both are UL-listed and designed for permanent outdoor use. There are no safety concerns with normal installation and operation.
What comes in the starter kit?
The Soildrops Starter Kit includes everything you need: 1× Soildrops Controller, 1× soil moisture sensor, 1× antenna, mounting hardware, power adapter, and a Quick Start Guide. Additional sensors can be purchased separately for multi-zone setups.
How long do the sensor batteries last?
Approximately 2 years under normal conditions. When the battery starts running low, the app will show a yellow or red battery indicator on the zone card. Sensors use a standard CR2032 coin cell battery that's widely available and easy to replace.
How does the booster work?
The signal booster extends the communication range between your sensor and the controller. It receives the sensor's signal and re-transmits it at full strength, effectively doubling the range. Place the booster midway between the sensor and the controller for best results. It's powered by a battery and doesn't require any wiring.
Do I need to remove my sensors while mowing?
No. The sensors are designed to be installed flush with or slightly below the soil surface, so your mower passes right over them. Just make sure the sensor isn't sticking up above ground level. If you're using a scalping height or dethatching, it's a good idea to mark the sensor locations with a small flag until you know where they are.
Are sensors waterproof? What about the controller?
The sensors are fully waterproof — they're designed to sit in wet soil permanently. The controller is weather-resistant and rated for outdoor installation, but it's best to mount it under an eave or in a sheltered spot to protect it from direct rain and extreme sun exposure. Both devices are built for years of outdoor service.
No articles found. Try a different search term.