Estimated installation Time: 3 mins each sensor
The sensor transmits to the controller over a range of about 100 feet. Walls, concrete, metal and dense vegetation between the sensor and the controller shorten that, so place sensors as close to the controller as the zone layout allows.
A solar-powered booster that extends this to over half a mile is launching in late 2026. It needs no pairing and no wiring — it picks up your sensors automatically and relays them to the controller. The earlier battery-powered booster has been discontinued.
Step 1: Place Your Sensor
Sprinkler Zones: Place in the center of the zone.
Dripline Zones: Place under a drip hole at the midpoint for accurate readings.
Pro Tips:
-
Place near the controller for the strongest signal.
-
Avoid having concrete or metal doors between the controller and sensor.
-
Do not place the sensor next to footings, concrete, rocks, or bricks.
-
Position the sensor at the highest point in the area whenever possible.
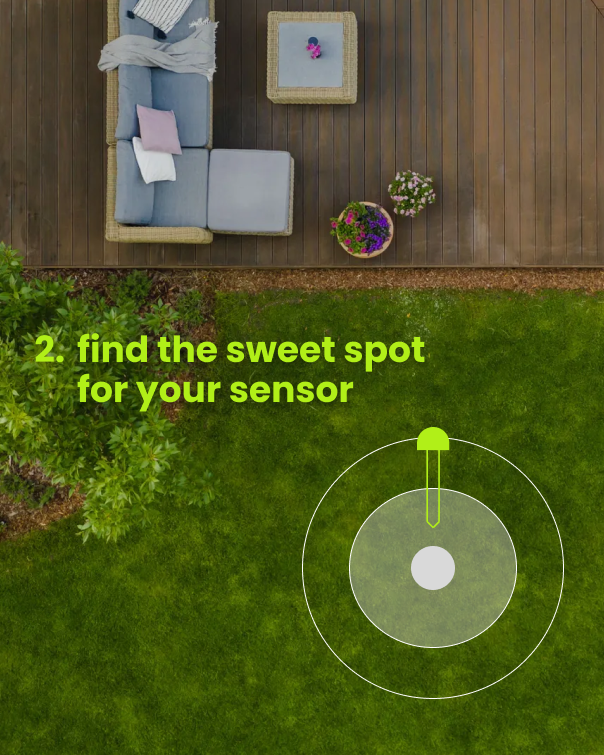
Step 2: Moisten Soil
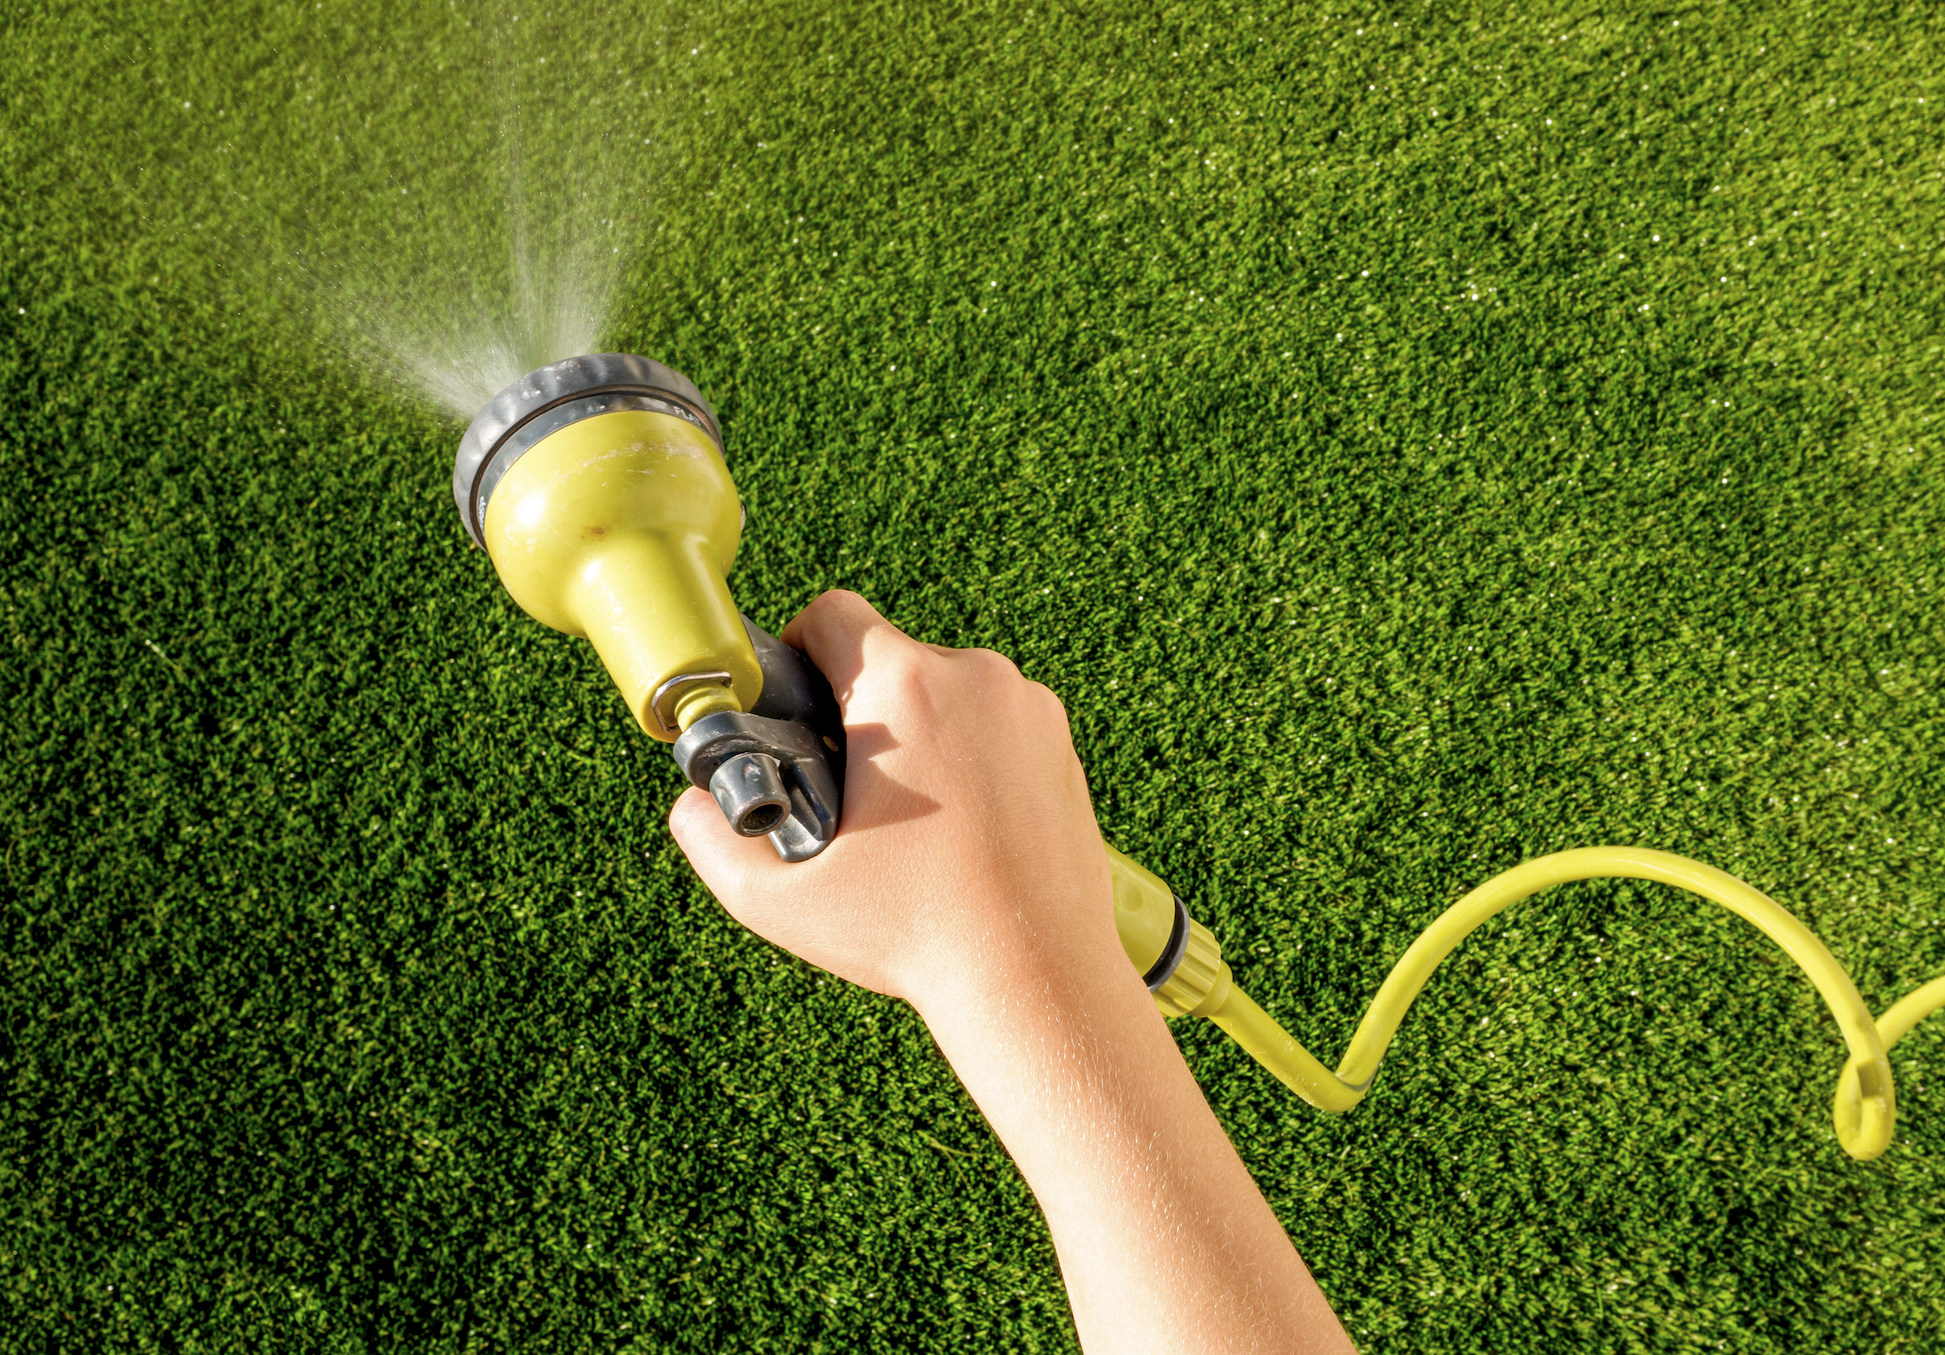
- Avoid damage by inserting into moist soil.
- Water the area manually or, use QuickRun (3-5 min) in the app.
Step 3: Pair Your Sensor
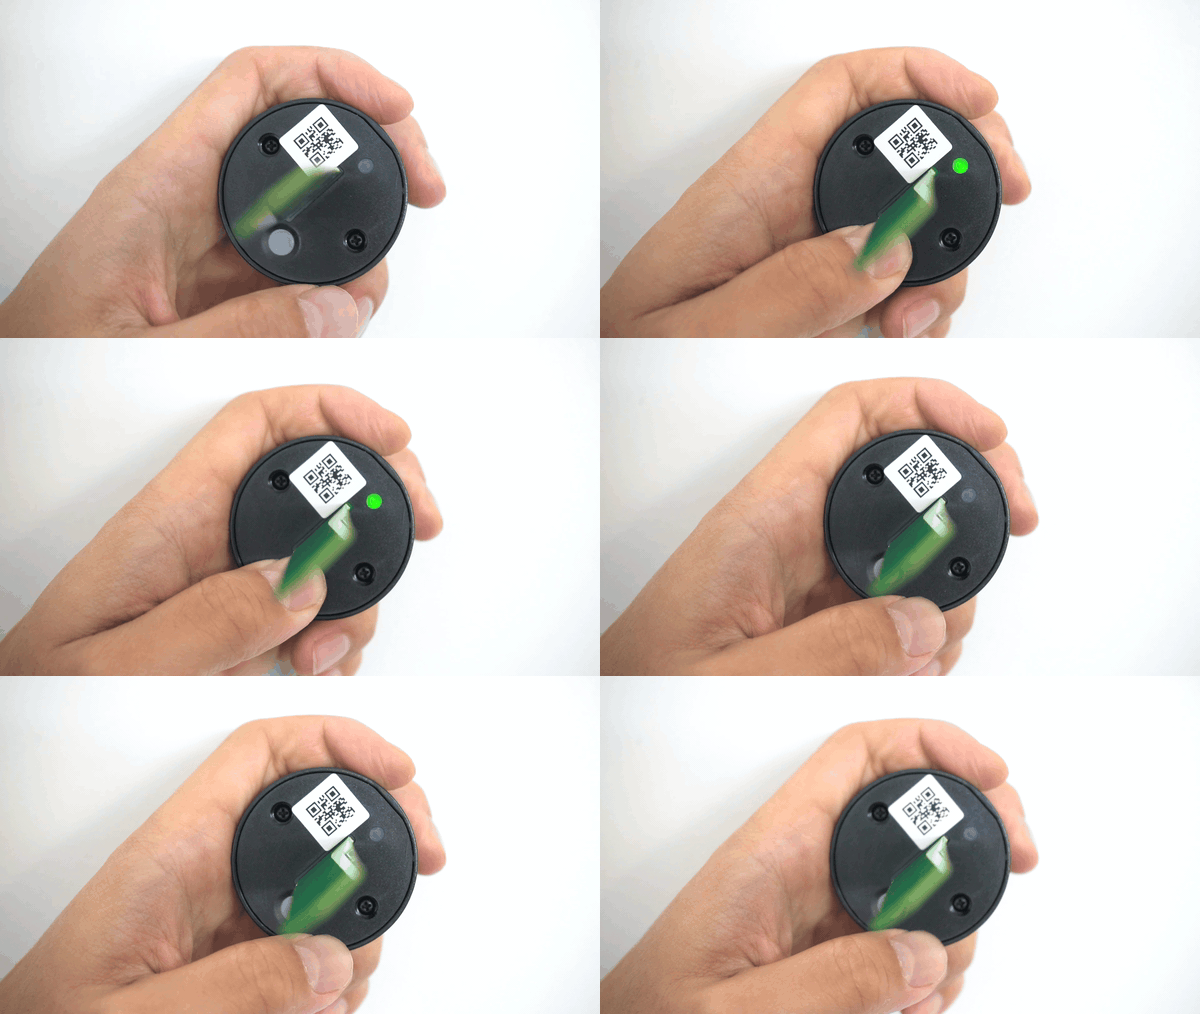
- Near controller, hold button (5s) until LED blinks.
- In the app, tap 'Add Sensor' and scan the QR code.
- Wait for pairing confirmation.
Step 4: Sensor Insertion
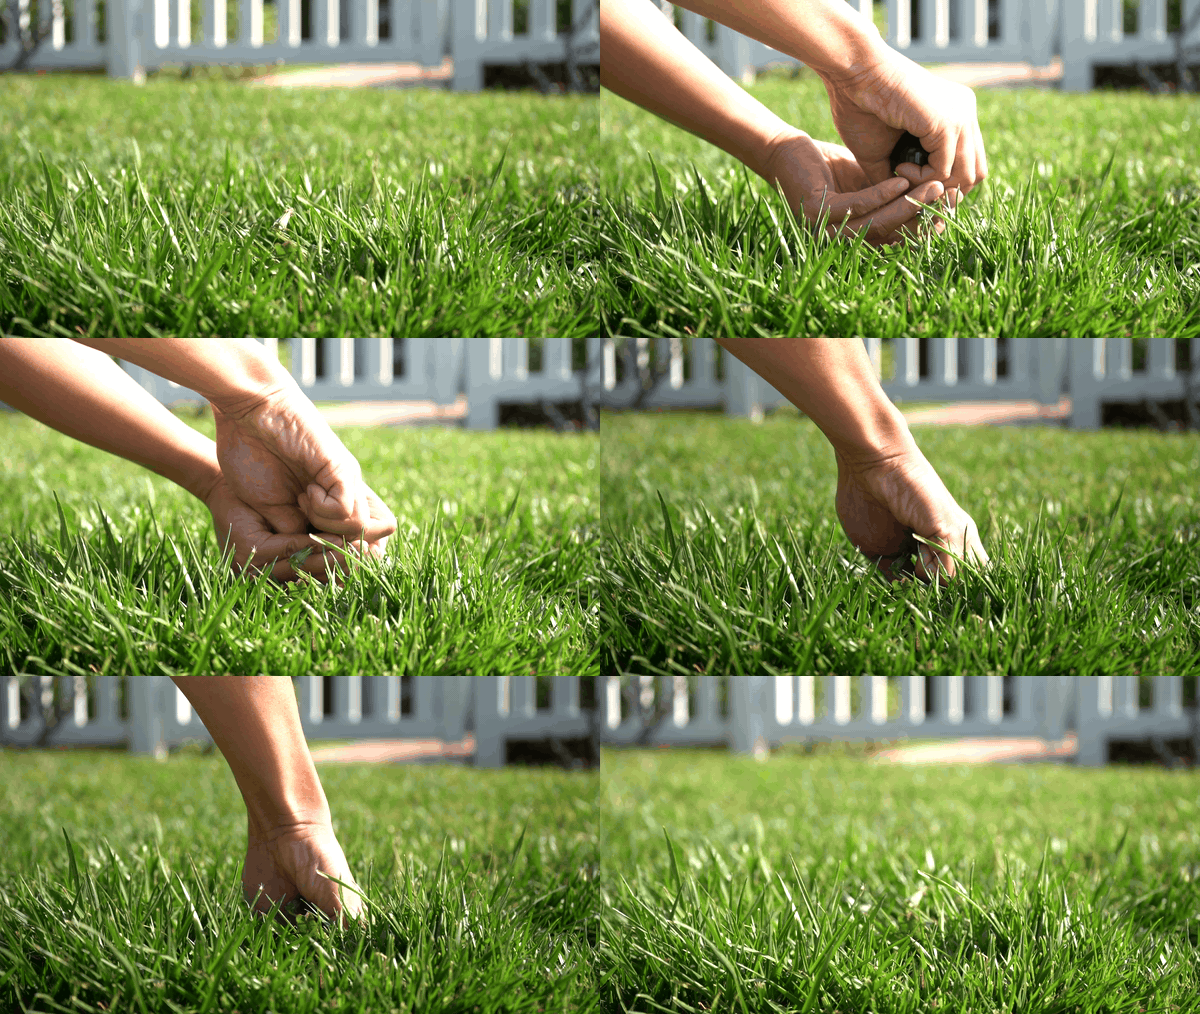
- Gently push sensor into soil. Stop and move if you feel resistance.
- Push sensor down until top is flush with soil.
Step 5: Wait for Data
- Initial 0% moisture is normal – don't worry! You’ll recieve an accurate reading within 10 minutes.Congratulations, your sensor is now monitoring soil moisture.
- If no data appears after 10 minutes, try moving the sensor to a different spot for a better signal.